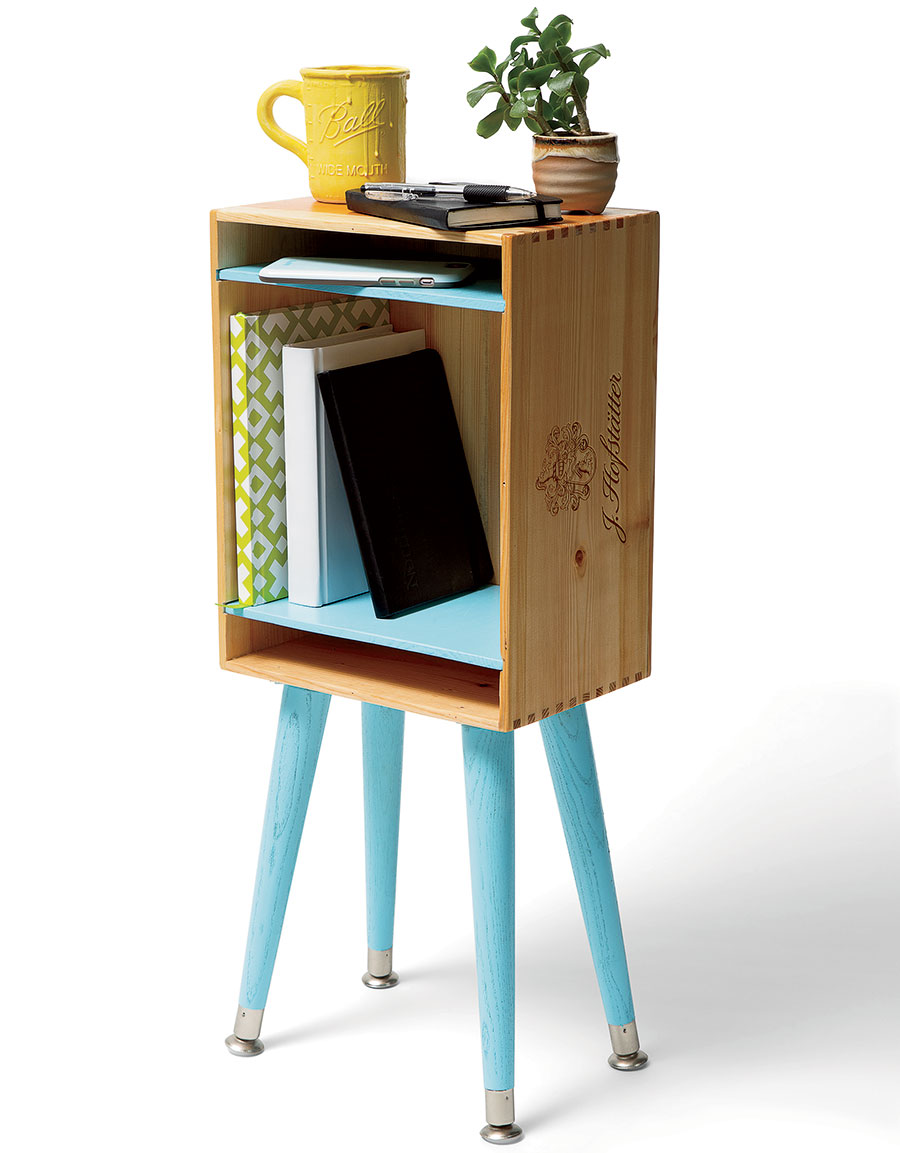
For Paul Schultz, salvaging old wood and turning it into beautiful furniture is a way of life. The Uptown resident became fascinated with reusing materials as a graduate student in architecture at the University of Oregon, where he learned that the majority of construction waste ends up in landfills. “Simple pieces take away some of the visual noise of a room,” he says of the minimalist furnishings, like rustic tables made from reclaimed wood and vintage metal cabinets, that he sells through his Etsy shop, Creative Currents Design. Here, Schultz walks us through a relatively easy nightstand project.
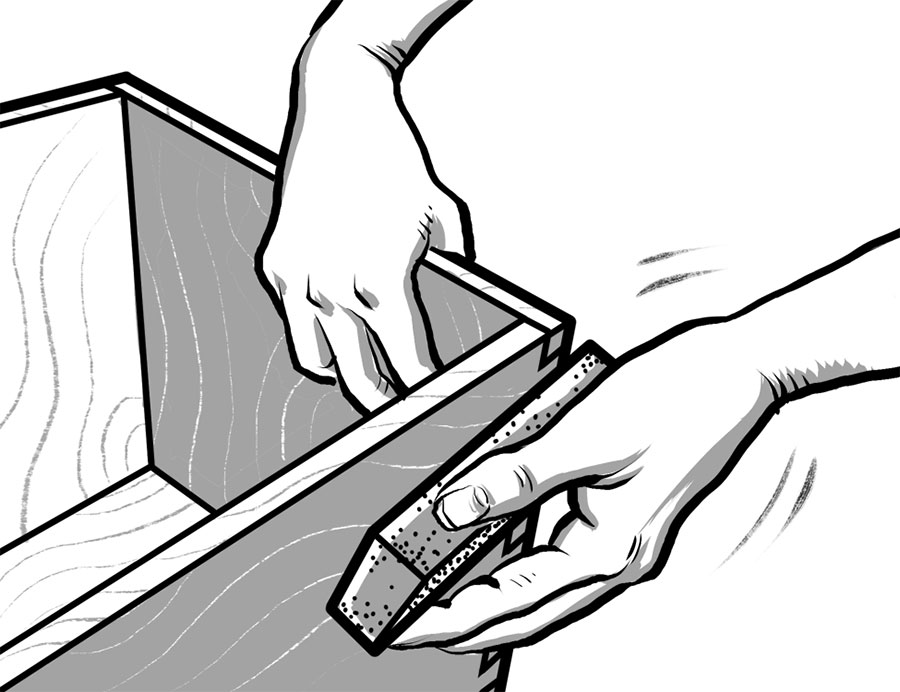
1. Ask a restaurant or winery for a spare wine box. Peel off any labels, remove nails from the lid, and, going with the grains, sand down sharp edges and splinters.
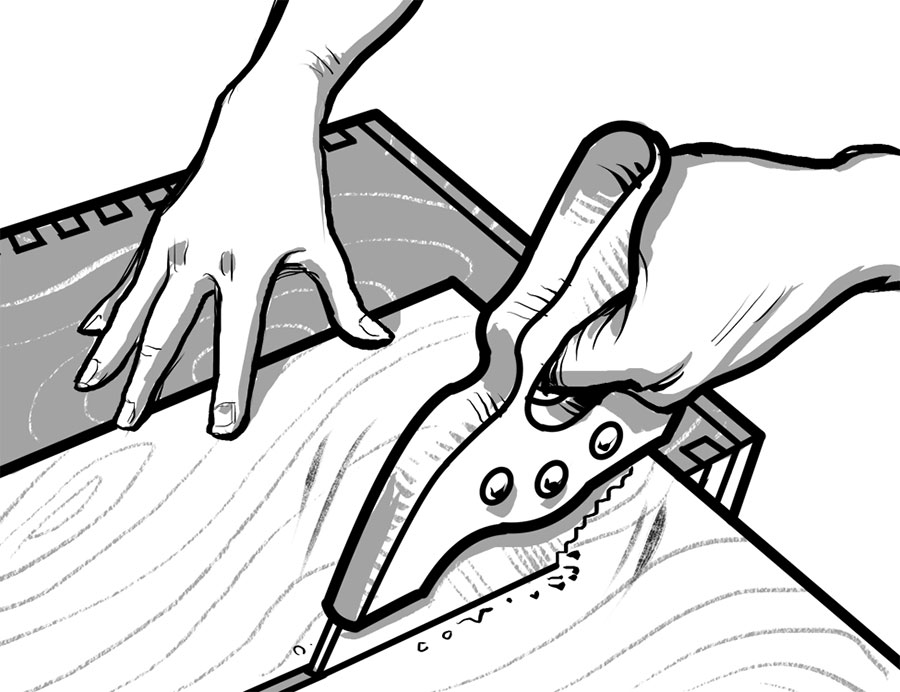
2. Saw the lid in half widthwise. Most wine boxes have slots that these halves can be slid into for shelves. Trim the shelves as needed so they are flush.
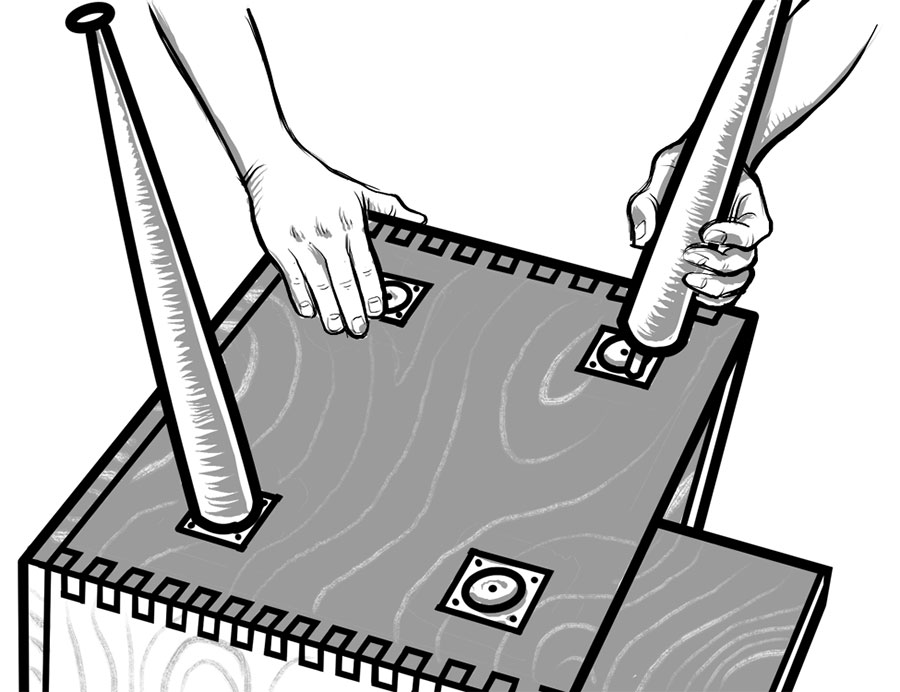
3. Using a screwdriver or drill, attach leg-mounting plates (which you can find at hardware stores, along with the legs themselves) to the outer four corners of one of the smaller sides, then screw in the legs. A good rule of thumb for leg height: You want the finished table to be level with your bed.
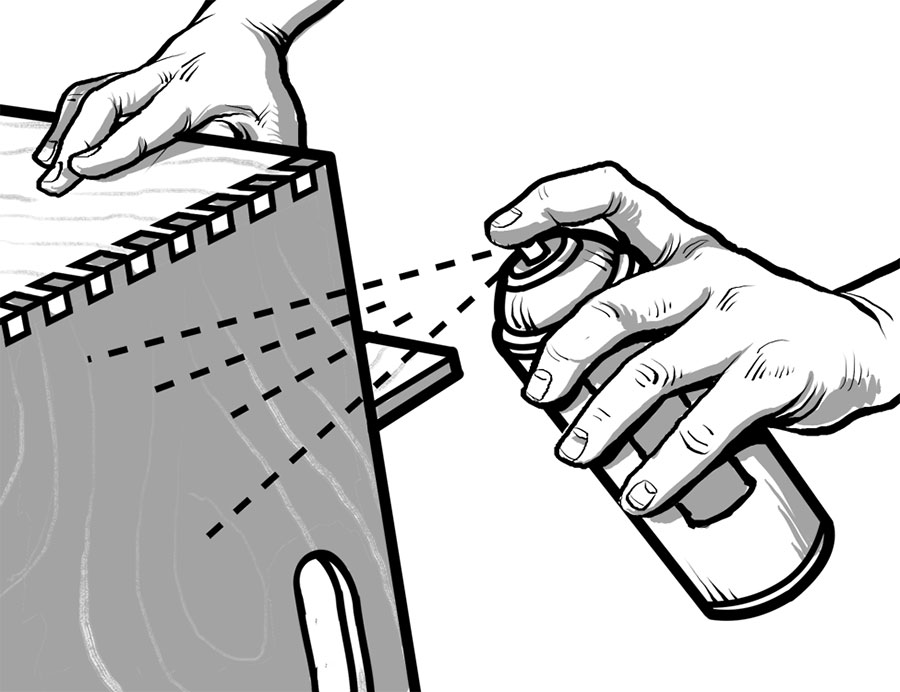
4. In a ventilated area, spray the finished table with three or four coats of polyurethane to make it more durable. Want to add personality? Paint, stain, or stencil the box.