Ask any apiarist: There’s something about beekeeping that just makes you feel good. Not only are you harvesting your own honey, but you’re also helping these essential (and largely nonaggressive) pollinators propagate local flora. Bees require more know-how and investment than chickens, but, hey, you get to wear some cool gear. Early spring is the time to get started: Honeybees are most active from April to September. Hives must be registered with the state, and you’re restricted to five in Chicago, though we recommend starting with just one.
Get Set Up
1Educate yourself. The Chicago Honey Co-op’s beginning beekeeping class ($85) offers an essential tutorial in honeybee behavior, pest control, and the basic principles of beekeeping.
2Give them room to buzz. A hive isn’t much bigger than a filing cabinet, but you’ll want about six feet of open space on the entrance side (to avoid disturbing the bees when you’re grilling or watering your flowers) and two to three feet around the sides and back.
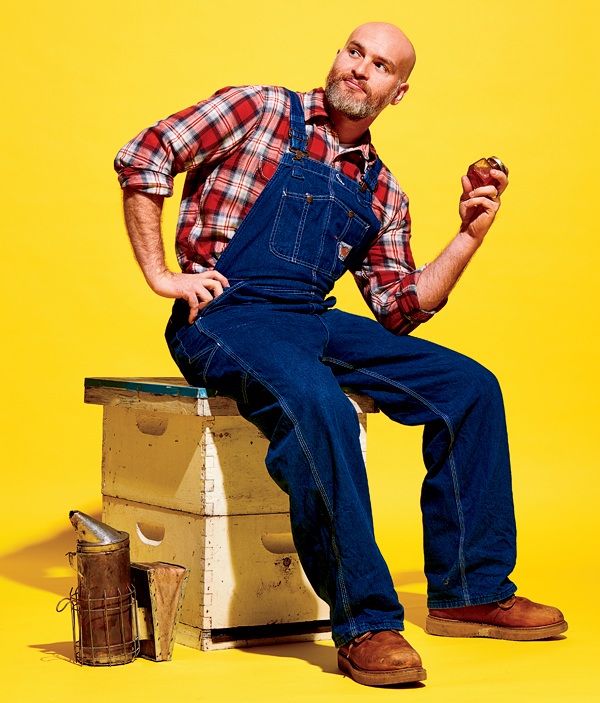
3Choose a hive. Naaman Gambill (see above) of the Hive (3414 W. Roosevelt Rd.), a beekeeping supply store, recommends a Langstroth. “It’s the Model T of beekeeping,” he says: simple, easy to use, and inexpensive (his store sells one for around $200). It’s basically a stackable wooden crate housing 10 rectangular frames that provide the surface on which the bees build their honeycomb.
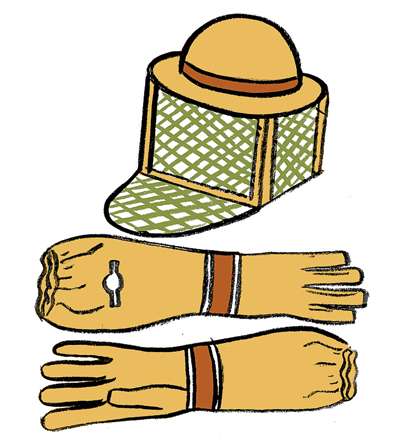
4Gear up. Honeybees sting only when they sense their hive is threatened. That’s why protective gear and a smoker, which makes the bees fill up on honey and become sluggish, are recommended when manipulating the frames. Gambill says a veil, hat, and gloves ($60 for all three at the Hive) are sufficient. A smoker costs around $25. You’ll also need a crowbar-like hive tool (around $15) to pry out the sticky frames, a bee brush ($13) to sweep bees away as you’re harvesting, and a frame feeder ($25).
Meet Your Bees
1Go nuclear. Getting honeybees to colonize a new hive is tricky, which is why Gambill recommends buying a nucleus (“nuc” for short) colony. It’s a crate containing four hive frames populated with roughly 20,000 bees, including a queen. A nuc colony can be ordered from the Hive for about $200.
2Time to move in. Unless it’s unseasonably cold or rainy, install your nuc as soon as possible: Grab your smoker, don your gear, remove four of your hive’s existing frames, and carefully insert the populated frames into the hive.
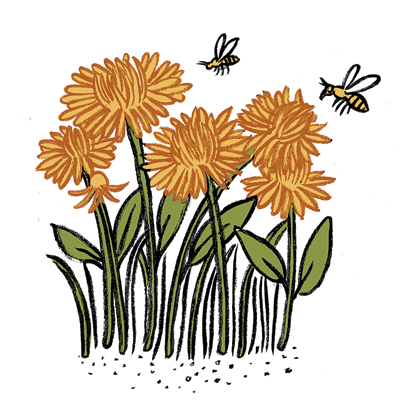
3Offer a welcome-home meal. The bees will need an initial nutritive boost as they begin to discover your neighborhood’s natural sources of pollen and nectar. Fill your feeder, which attaches inside the hive, with a 1-to-1 solution of sugar and water. And if you’ve got dandelions in your yard, leave them! They’ll provide your bees with a spring buffet.
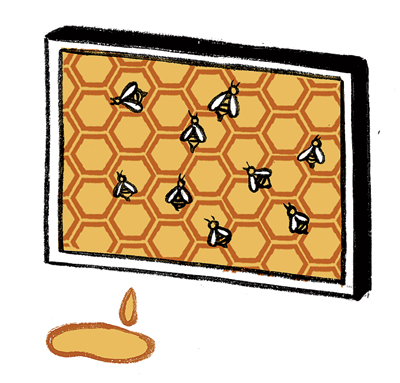
4Inspect your bees weekly. Look for signs of a healthy queen and colony: larvae, eggs, and intact comb cells firmly capped with wax. You want a majority of cells to be in use.
5Expand your hive. An overcrowded hive may cause the queen to organize a swarm and leave, so once a majority of your hive’s frames are covered in honeycomb—three to four months—it’s time to add another 10-frame crate to the top.
Harvest Time!
1Extract the honey. As early as late June, don your gear, smoke your hive, and pry out a comb-covered frame, gently brushing off the bees. Take the frame to your kitchen and, using a flat-ended spatula or similar tool, crack the comb off over a bucket lined with cheesecloth, mashing the comb if necessary to uncap the cells. Repeat with the remaining colonized frames. Let the honey drain out for 24 hours or so. If you prefer not to destroy the comb to get at the honey, you can use a centrifugal extractor ($250, or $75 to rent), which spins the frames to release their treasure. (An extractor allows your bees to reuse the comb multiple times in a season.)
2Become a honey snob. Bee enthusiasts can talk endlessly about the differences in flavor and color between honeys. Those made in the Chicago area, where bees feed on the nectar of locust, linden, catmint, and salvia flowers, tend to have hints of mint and smoke. “I could tell you the difference between downtown Chicago honey and Des Plaines honey,” says Gambill.
3Have a sweet winter. So long as you leave at least 10 frames unharvested, your bees will remain in the hive all winter, nourishing themselves on honey. Meanwhile, you’ll have lots of your own to enjoy—a new hive can produce 30 pounds in its first season.