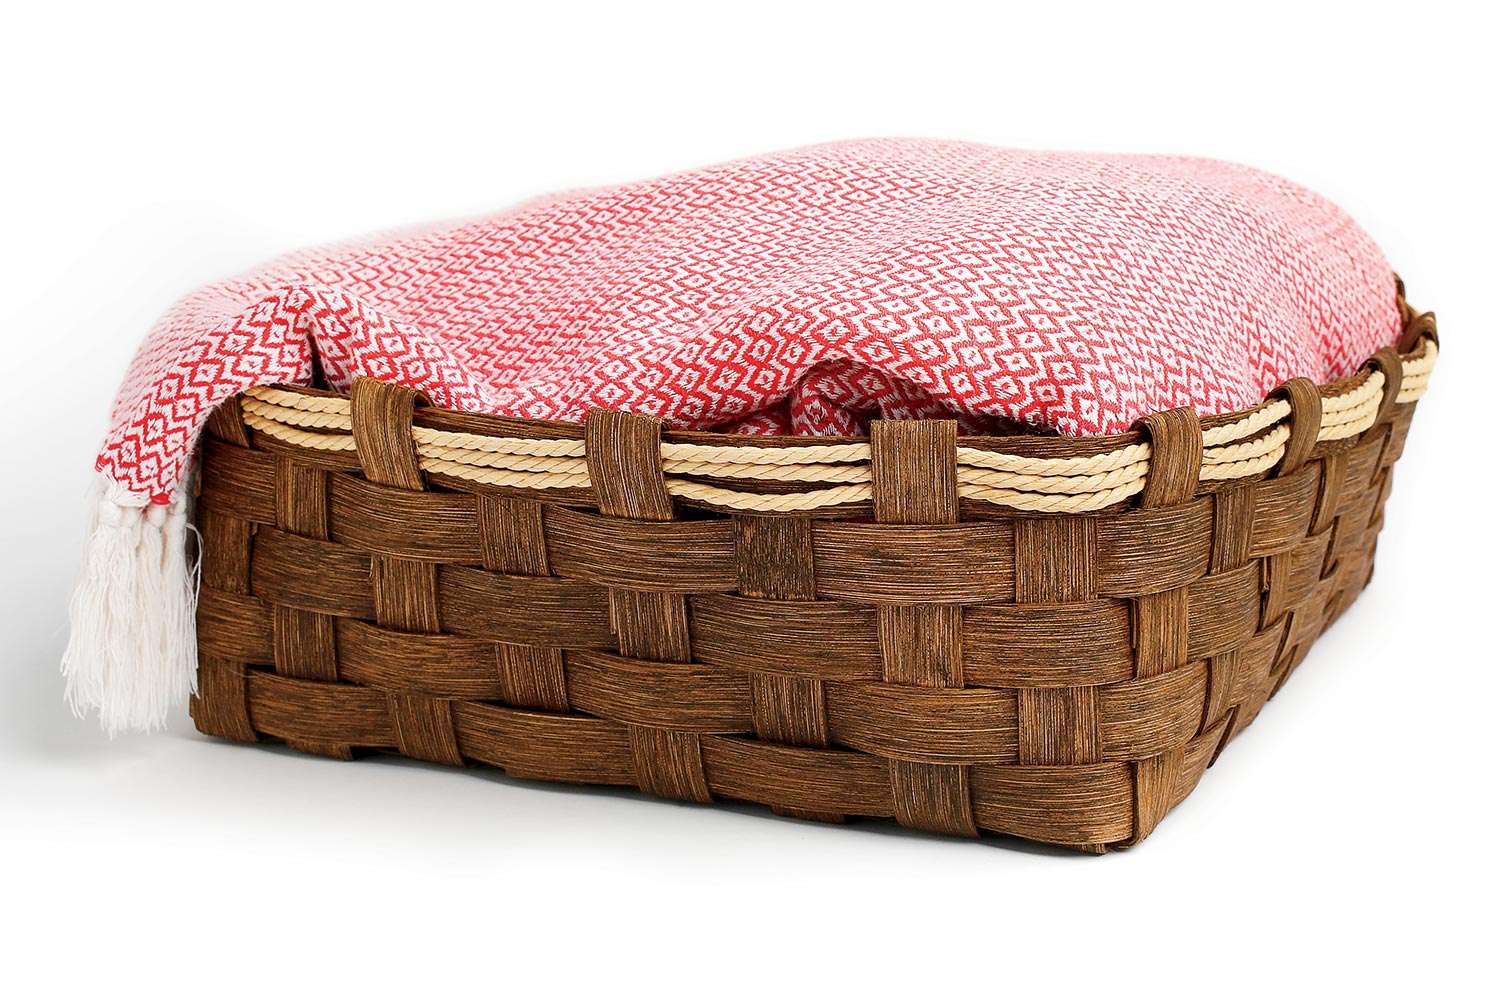
You’ll never look at a basket the same way once you’ve woven one,” says Natalie Boyett, owner of the Chicago Weaving School in Irving Park. “When you see how things are put together, it’s like you’ve unlocked the secrets of the universe.” To her, a basket exemplifies order — the perfect antidote to the chaos of this year. “You’re trying to make two polar opposites work together: the clunkiness of the physical world and your imperfect hands, and the idealized geometry of the basket.” Plus, follow her instructions and you’ve got a nifty 16-by-16-by-6-inch container for your remotes or kids’ toys.
Supplies Needed
• A one-pound coil of one-inch flat basket reed: 17 pieces cut to 32 inches (for the base) and five cut to 72 inches (for the sides)
• Six yards of three-millimeter Danish cord
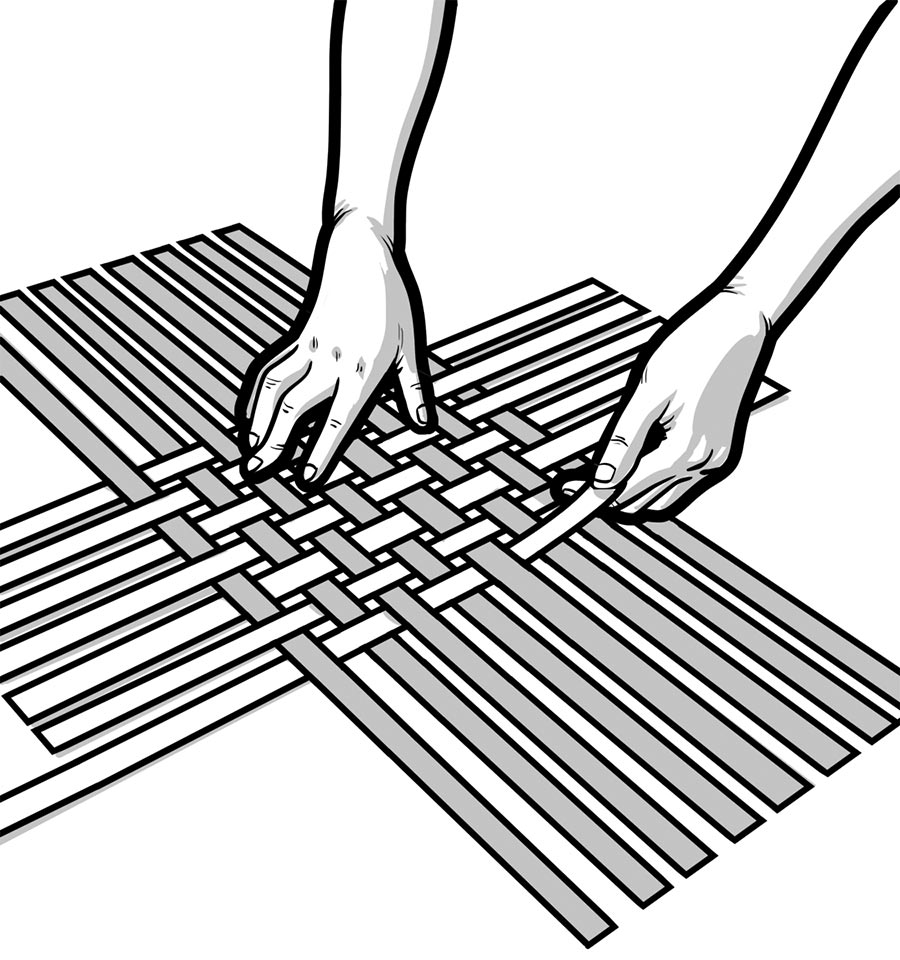
1 Soak the pieces in water for one to two minutes. Lay eight of the short ones vertically, and one by one, weave in the other nine short pieces horizontally, alternating between going over and under the vertical reeds, until you have an eight-by-nine-piece grid.
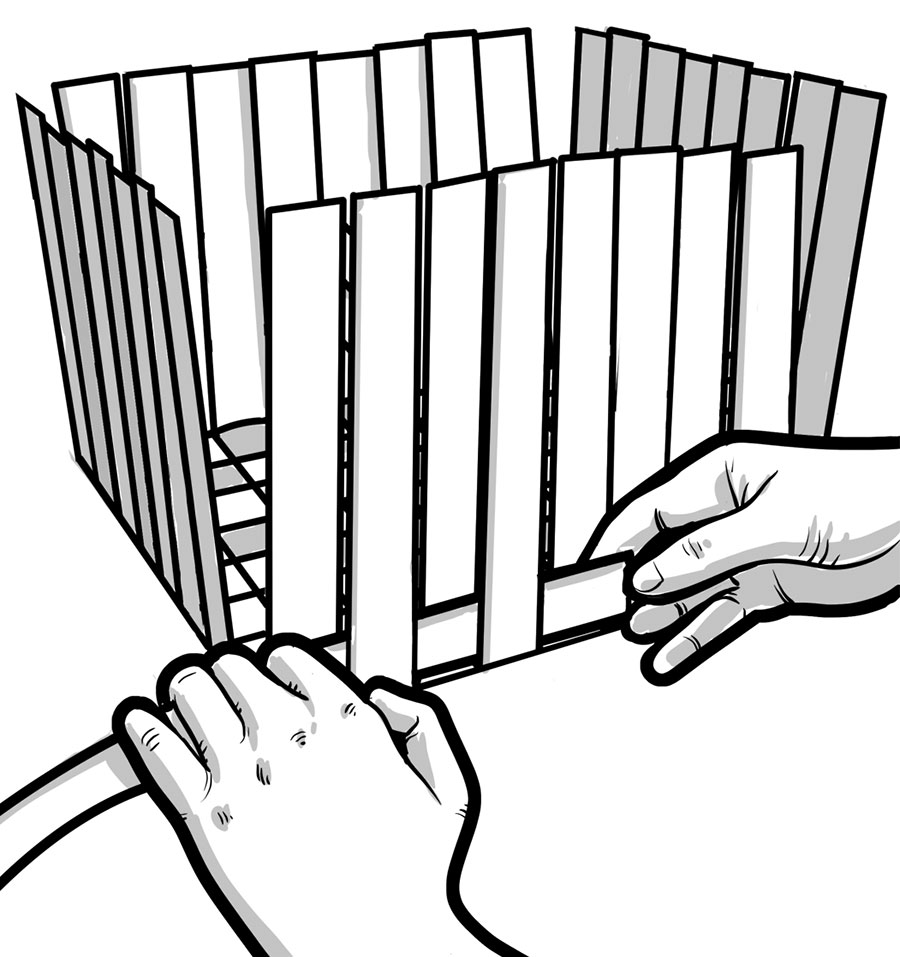
2 Leave six inches of excess reed on all four sides. Carefully bend these “spokes” upright 90 degrees as you weave a row around all four sides using one of the 72-inch pieces. Overlap with the start of the row by six inches and trim the tip so it’s not visible. Repeat this step four more times.
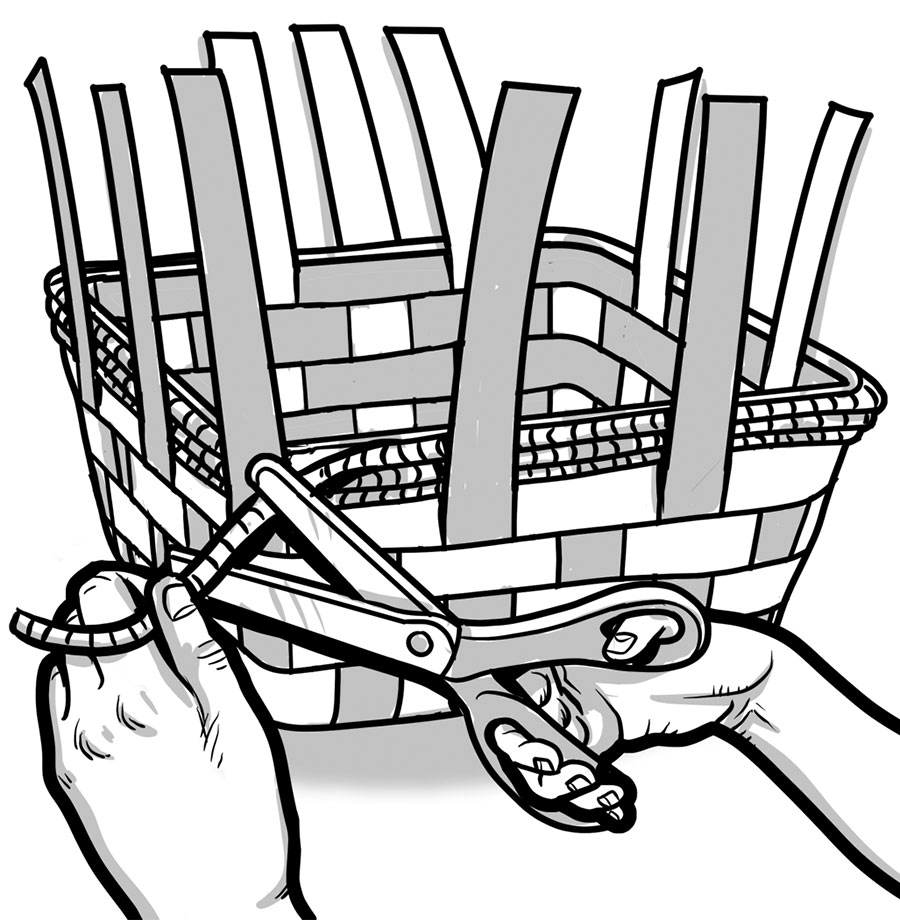
3 Wrap the strand of Danish cord around the top row three times. Cut off the excess cord, and tuck the ends behind a upright spoke.
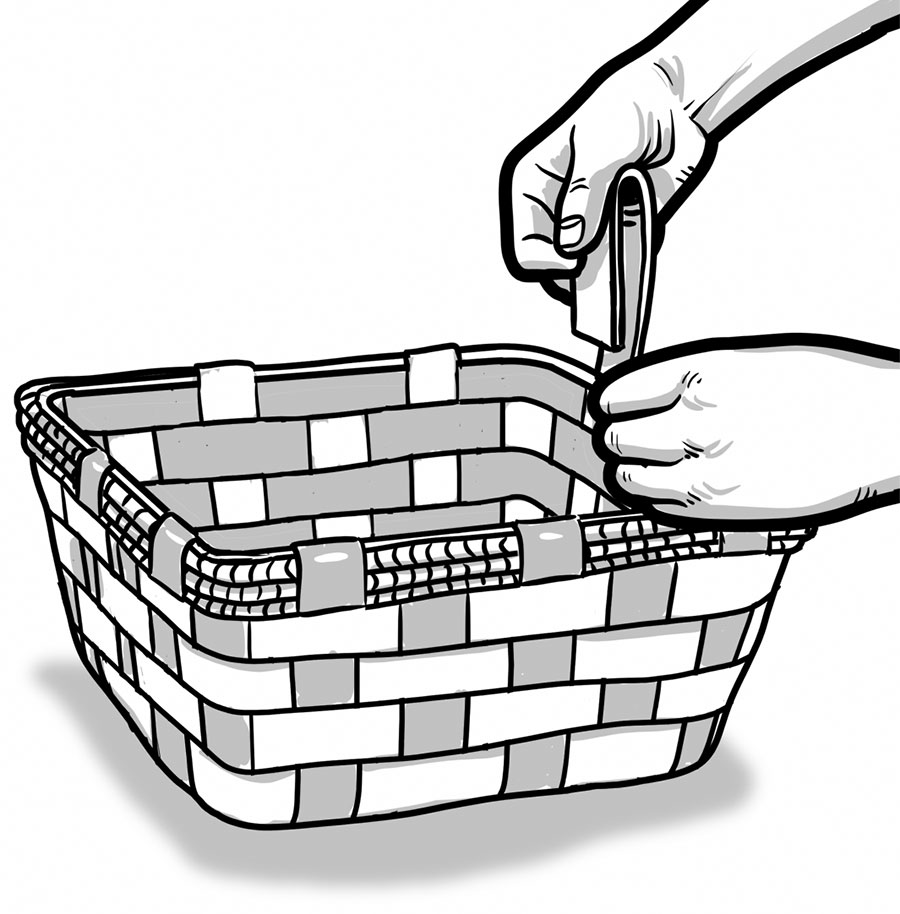
4 Take the upright spokes that are on the interior side of the basket on the top woven row and trim them so they are even with the top. Bend the outside spokes over the cord, down into the basket, then tuck them inside the weave, securing the structure.